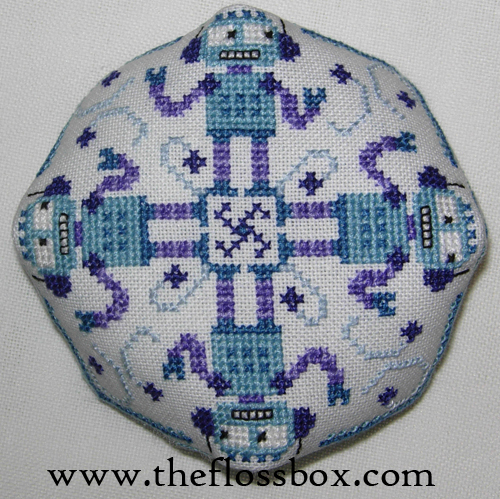
This biscornu tutorial is for making biscornu that have an odd number of
stitches on the sides.
It is just like making other biscornu except for a small trick in the
corner which helps the corner stay matched up with the middle
of the other piece.
After you have prepared your design by doing a back stitch around the design with 2 strands of floss, cut out the designs with about a quarter inch seam allowance.
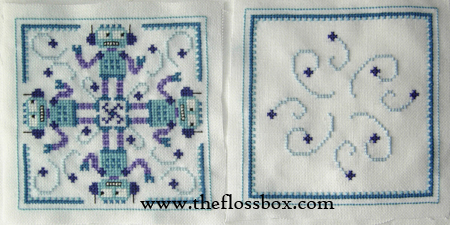
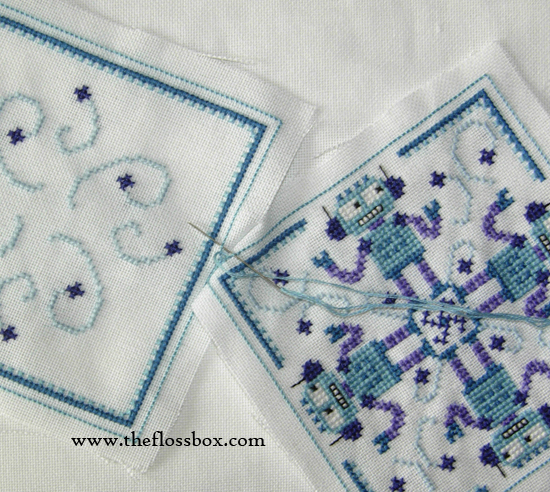
An easy way to determine the thread needed to stitch the biscornu together, is to wrap the thread around the design two times, then add another 8-12″. This should give you enough thread plus a bit extra. Anchor the thread to the back and bring the needle up in the corner of one piece. Then run it under the middle stitch of the other piece.

Continue to run the needle under matching stitches as usual up to the next corner.
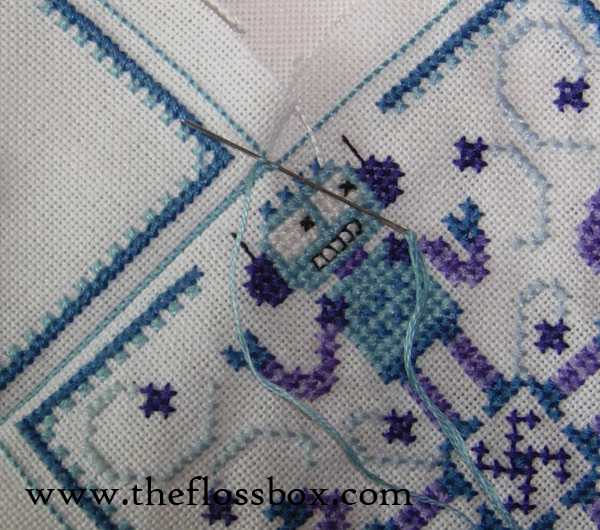
When you get to the corner, the trick is when your run the needle under the middle stitch of the opposite piece, run it for a second time under the stitch just before the corner on the other piece.
Continue stitching the pieces together. When you have a couple inches left, stuff the biscornu firmly, but don’t over-stuff.

Secure the thread at the end by running the needle over a few stitches. If desired you can attach a bead or button to the middle. Now step back and admire your new biscornu!
