
I get many questions for stitchers asking how to know which stitch to use.
So to help I am creating a series of tutorials designed to help embroiderers learn to choose stitches for their embroidery projects. The main point is to bridge the gap between embroidery books filled with instructions and the practical usage of embroidery stitches. In this first tutorial, I am looking for stitches that could be suitable for an area of water.
I wasn’t sure at all from the beginning which stitches might be appropriate or what type of thread and thickness would work. I know I want the area to be filled solid. So to start with I get out my embroidery books for ideas, and I also check my stitched samplers looking for anything that might be suitable. I am looking for stitches with horizontal lines, like you might expect to see when you look out over the water.
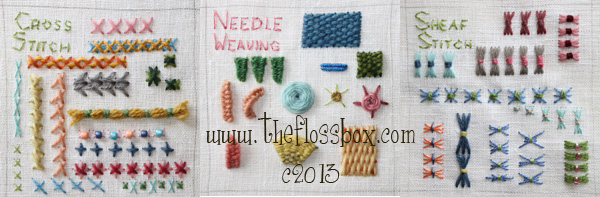
After studying my samples, I come up with several possibilities. Weaving stitch, burden stitch, long and short stitch, and a satin stitch variation. I get out my colors I have chosen, which I wasn’t 100% sure about either. This is a great opportunity to test colors and threads too. I decide to use regular cotton embroidery floss.
First I try long and short. I like it, but I used 5 strands, with one area of only 4. Five strands seem to be too many. Next I try burden and weaving stitches. They look nice, but maybe the textures they create are simply too regular for the look I want my water to have. Next I try a variation of satin stitch. The ends of the stitches overlap slightly. Again, far too regular.
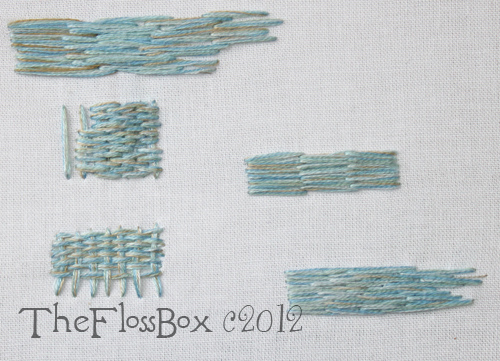
I stand back and examine my sample stitches.
I realize the long and short is the closest to the look I want. So I try one more sample of it. This time with only 4 strands (one strand of four colors each). I like it. Then I try just making a few straight stitches over the long and short with a light beige thread. This adds the hint of brown I was after, without making the stitching so bulky, and it helps hold down the stitches just a little too – they are somewhat long and just a little loose, so this is good.
Now I am satisfied with my samples, so I am really to begin stitching on my real project! I stitch, stitch, stitch. It’s a fairly large area to fill completely. Finally I am done.
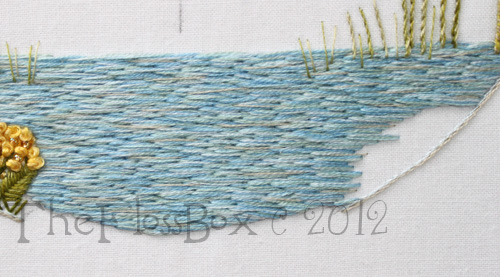
It turned out better than I had hoped.
This short example is designed to show you a process you can use when you aren’t completely certain what stitches you want to use. Samplers are helpful to have on hand, but they aren’t absolutely necessary.
Be sure to make the test stitches, you will be making samples that you can keep and will be very handy for future reference.
Also to think about when making these test stitch is that this is an excellent way to test colors and different thread types even after you know which stitch you intend to use.