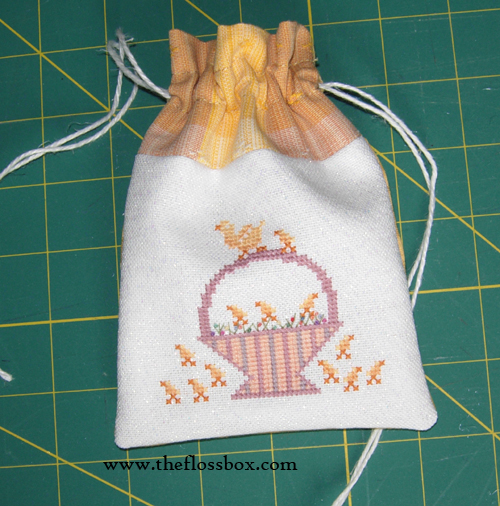
This little bag is a great gift. It’s a perfect finish for all sorts of needlework projects.
Materials:
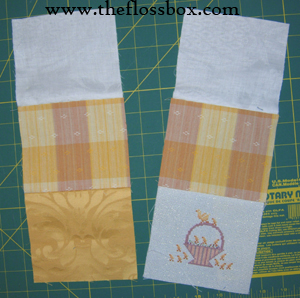
- 2 lining pieces
- 2 pieces for front and back
- 2 pieces for top border
- Ribbons or yarn for the drawstring
The lining pieces and front and back pieces should be the same size. The pieces for the top border should be twice the intended size of the top border since it will be folded over in two.

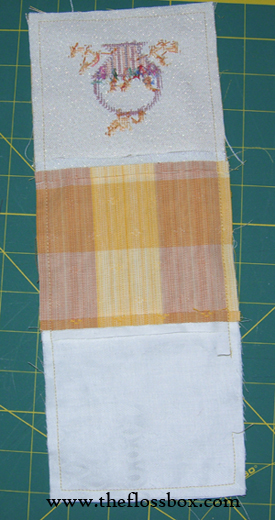
Step 1
Sew the front piece, one top border piece and one lining piece together.
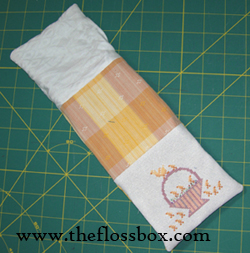
The result will be one long piece. Do the same for the back piece,
the other top border piece, and the remaining lining section.
Step 2
Match the front and back sections with right sides together and sew them
together, leaving a section open on the side of the lining.
Be careful to match seams for a nice finish!
Step 3
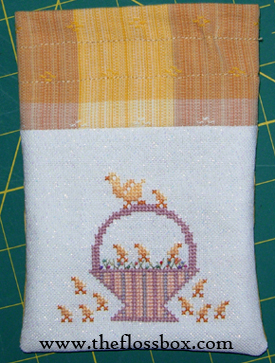
Clip the corners and turn the bag right side out.
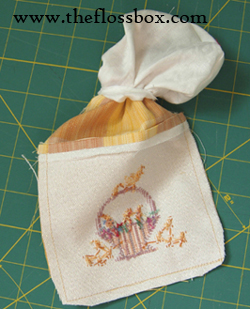
Step 4
Hand sew the opening closed with small stitches.
Step 5
Fold the lining section inside forming a bag.

Step 6
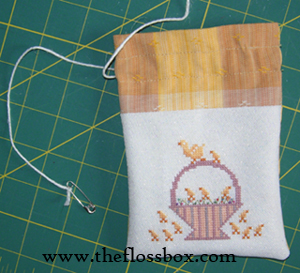
Sew a casing around the border section, making the casing approximately 5/8″ wide, beginning about 5/8″ down from the top.
This step is variable depending how big of a border you want and how high above the front piece you want the casing to be.
Step 7
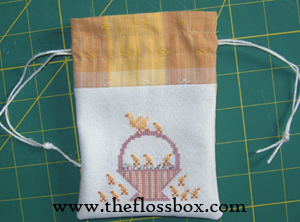
Unpick the side seams bewtween the casing seam lines, and thread the
ribbon around on one side. Do the same thing from the other side.
Step 8
Pull the strings to close and admire your handiwork!