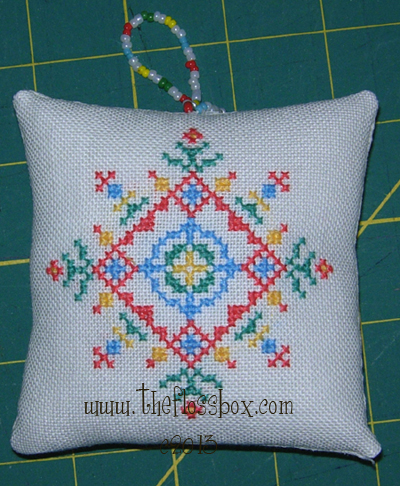
Do your pillow ornaments often turn out a bit lumpy and distorted on the edge where you sew them closed? This tutorial will help eliminate those bulges, so you have a nice even square shape!
Step 1
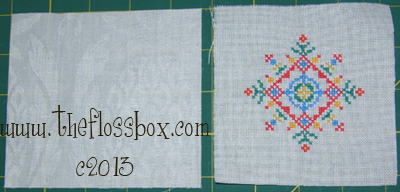
Take the measurements of the front. Then for the backing piece, cut it
about 1/2″ larger in one direction. (If you use a different seam
allowance than 1/4″, double that amount and add it to one dimension of
your backing piece.) My pillow front is 4 1/4″ square, so I cut a
backing piece that was 4 1/4 x 4 3/4″.
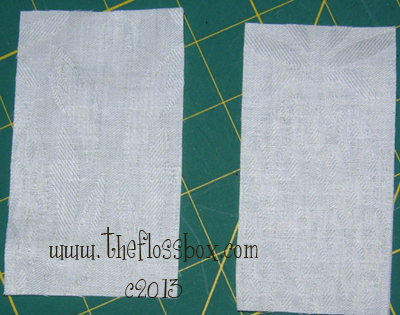
Step 2
Once you have your back piece, cut it in half, so you split it along the longer side.
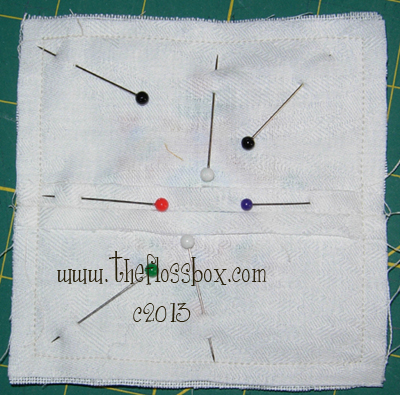
Step 3
Sew this piece together, leaving an opening in the back.

Step 4
Press the seam flat.

Step 5
Next, sew the front and back pieces together on all four sides – right sides together.
Step 6
Turn the pillow right-side out through the opening in the back. Stuff through that hole, and sew it shut. One main benefit
of this method, is that the fabric is already pressed under on the seam line, making it simple to sew it shut.
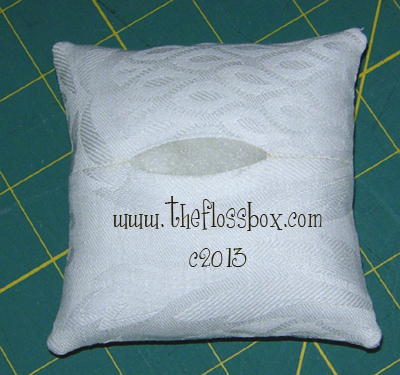
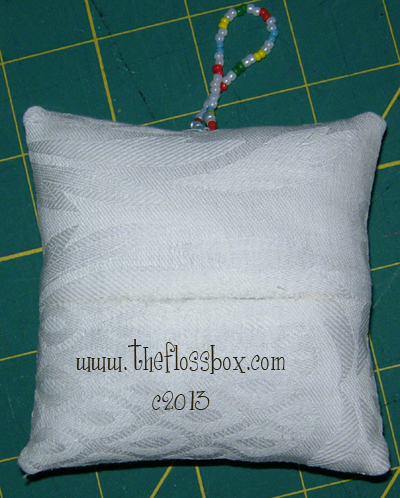
Now you have a nice, even pillow with the opening nicely hiding in the back!