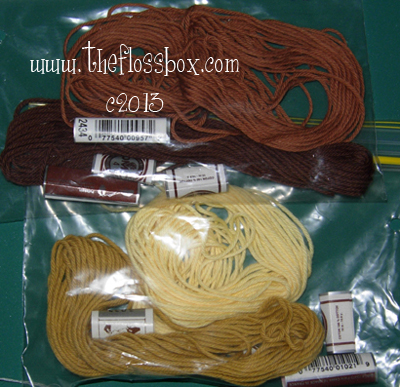
Materials
- You need some kind of yarn-type thread. I like DMC soft cotton yarn. Some of the yarn can show through, so pick a color that coordinate with the color you want for the body.
- felt
- fabric and floss
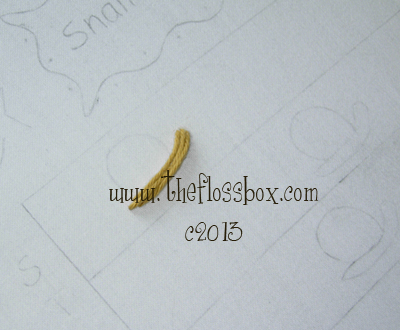
Step 1
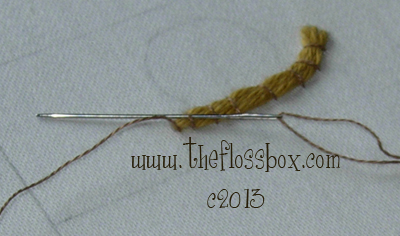
Cut 3 lengths of yarn and place them on your snail body. Stagger them a little at the head and tail to give some shape.
Don’t knot and cut the yarns yet, just leave them loose till you have couched them down along the body.
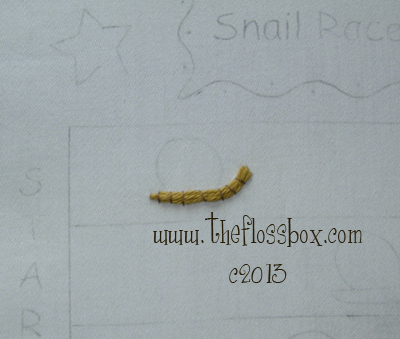
Step 2
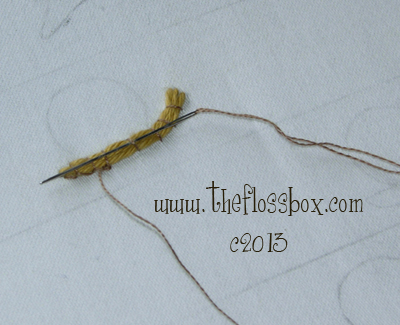
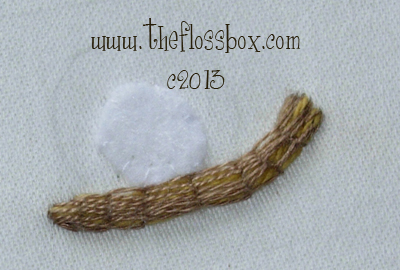
The stitch for covering the body is raised stem stitch band. The first
step is couching over your padding at regular intervals.
You can knot the yarns on the back and cut them when you’re done.
Step 3
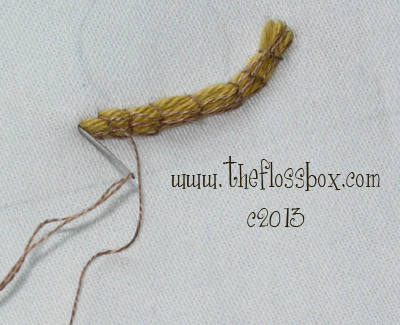
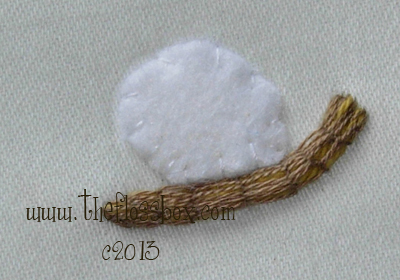
Now to make rows of the stem stitch over the couching. A tapestry
needle is nice here so as to not pierce the yarns or couching threads.
Continue up the body.
Put the needle down just over the couched threads.
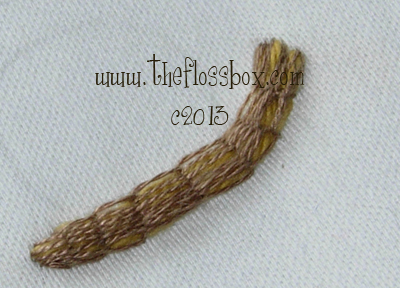
Make all the rows in the same direction. As you can see my yarn shows a little. The rows really should be closer together for better coverage of the couched yarn. I placed a few satin stitches at the end to cover a little more of the yarn.
Step 4
Next step is the padding for the shell. Cut 3 shell pieces from felt,
progressively smaller. Note that only the outer curve is
trimmed down. The shell pieces are all lined up on the bottom.
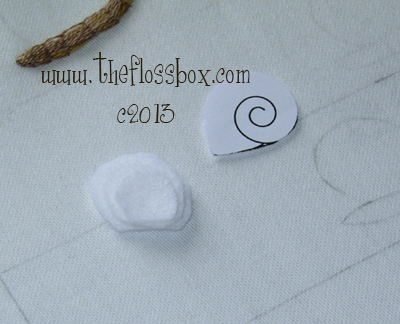
Stitch them onto the fabric, centering them.
The final one should just be inside the lines. Mine is a little too small, but that’s ok.
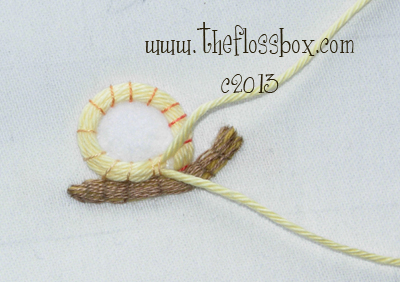
Step 5
Pick a color for the yarn that coordinates with the color you want for
the snail shell as some may show through. Cut 3 more lengths
of yarn an pull them through in a line at the start of the shell.
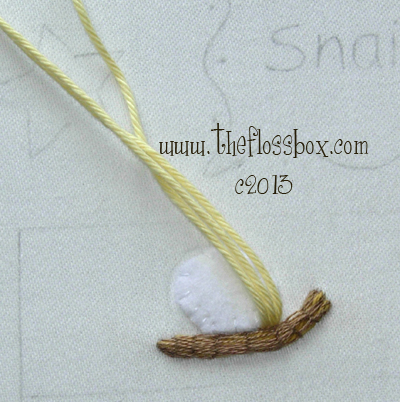
Couch them around the shell, keeping them nice and flat. At the end of the first circle pull the middle length of yarn to the back. You will continue couching only 2 of the yarn lengths now.
Continue around the couching. Pull the yarns to the back in the middle.
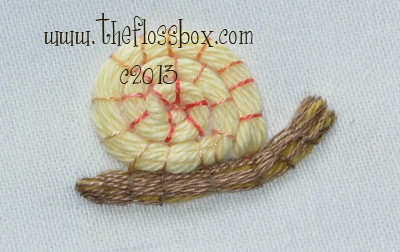
You might want to experiment with starting the yarns for couching in the
center instead of the outside. I didn’t try doing it that way
yet, but it might make a nicer circle.
Step 6
Now do satin stitch around the shell. Remember that the inner edge is
smaller than the outer, so place the stitches closer together on
the inner edge, so you get a nice fan of stitches around the loop. This
is time consuming, but take the time to do a nice job placing the
stitches for a nice result.
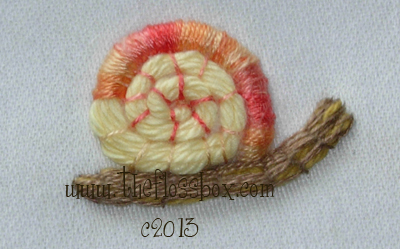
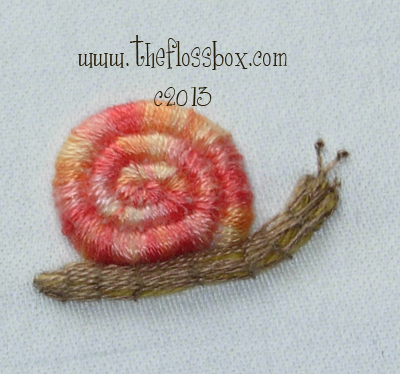
Step 7
Finally, do a couple straight stitches and french knots on the head, and you are done!