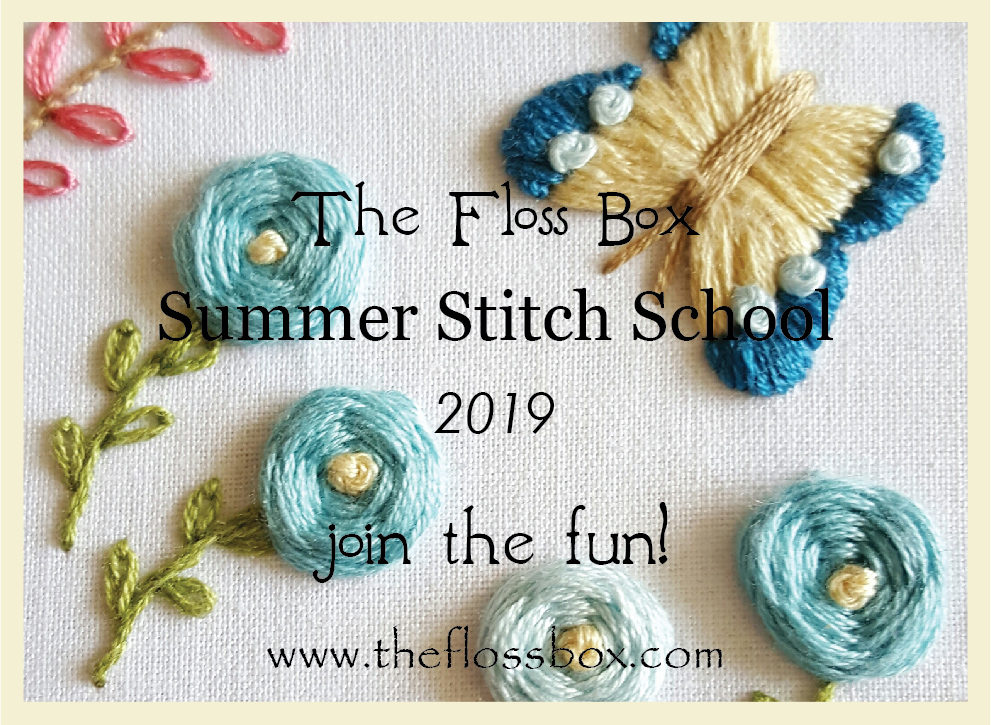
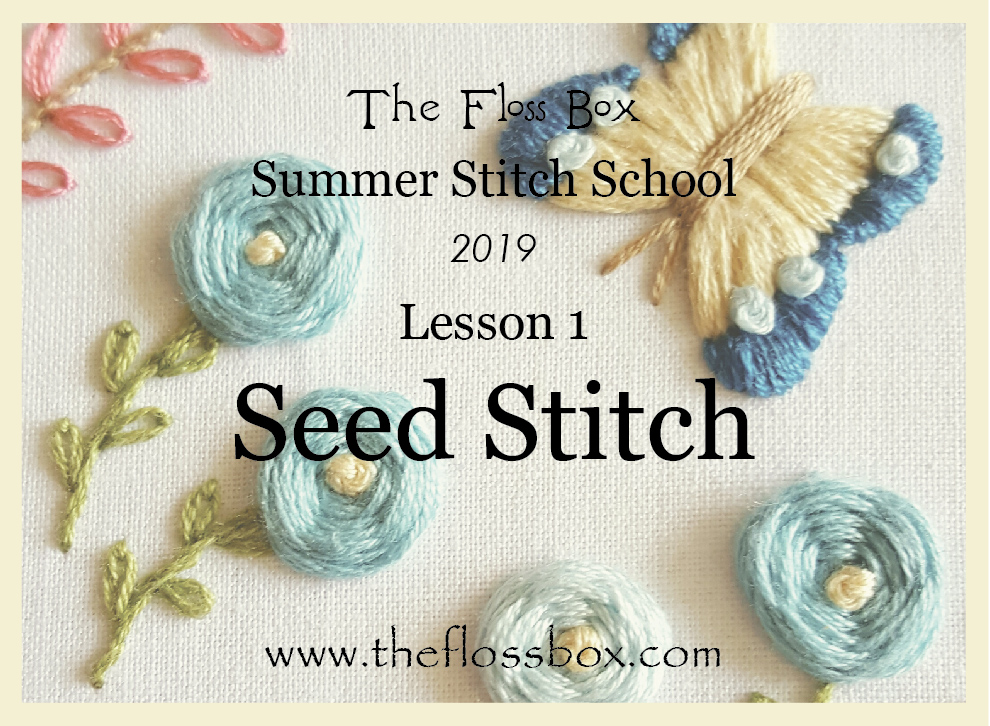
Welcome to the first lesson of Summer Stitch school 2019!
This week’s lesson features seed stitch. It’s a simple stitch.
A detailed explanation isn’t necessary. Basically it’s a sprinkling of small straight stitches made in an area. It can work as a light filling.
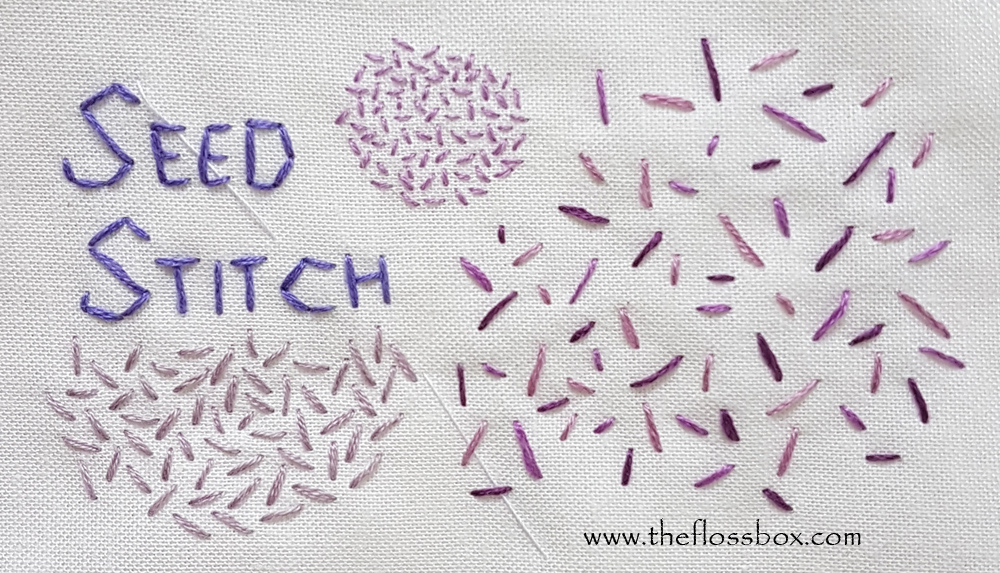
My stitch sample has a few variations. The traditional look of the stitch is the first sample to the right of the letters. Small, closely spaced stitches.
Typical uses could be textures for the ground, a roof, leaves, or any place you want a light filling with a bit of color. Traditional crewel embroidery is the most common place you find it, but you can use it anywhere, of course, in any type of embroidery.
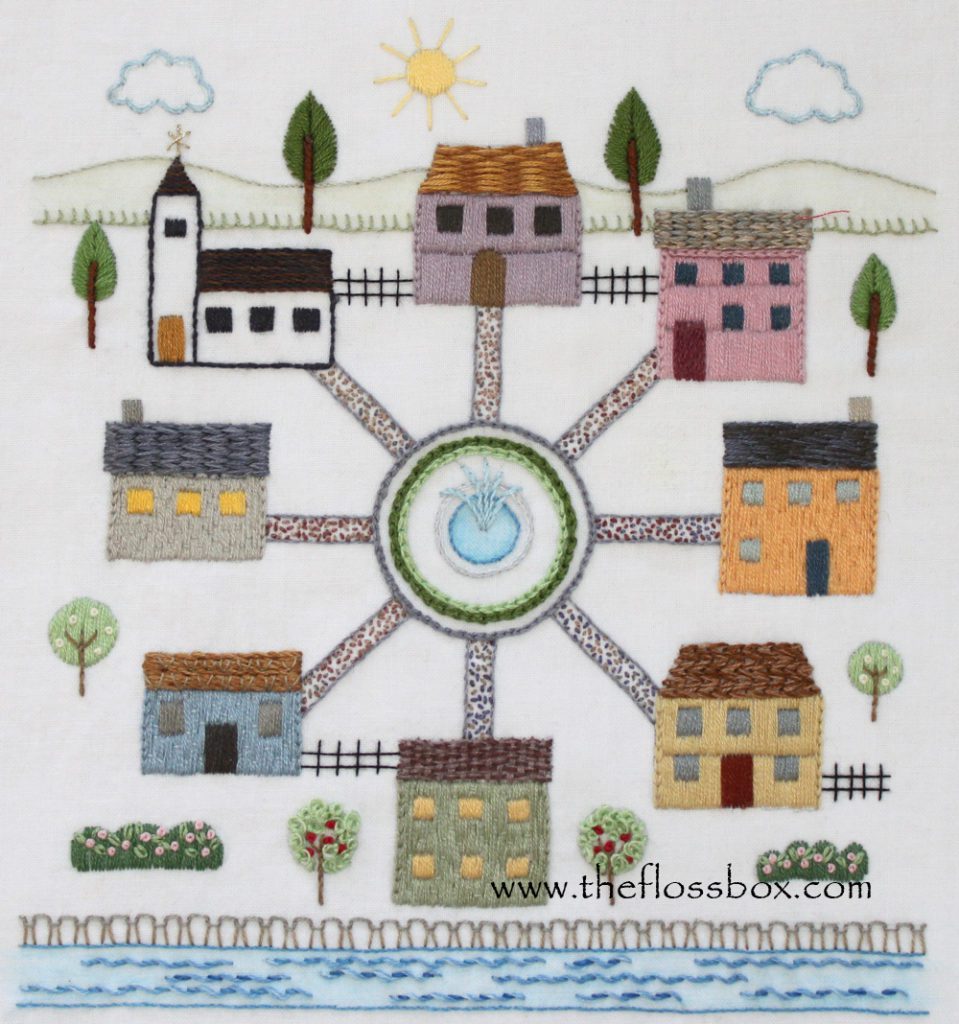
I have used seed stitch in this project for the walkways.
The stitches are very small here!
The second sample on the bottom right side has stitches that are a little larger. They are still densely packed, but that is optional too.
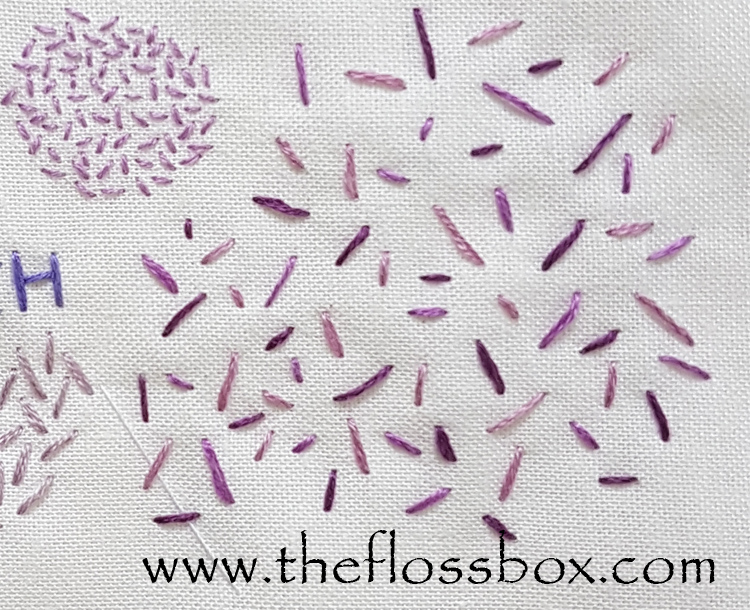
The third sample breaks away with varied stitch length, different colors and more space between the stitches.
It reminds me a little of sprinkles on an ice cream cone. I have actually used a similar idea in a project that I want to show you.
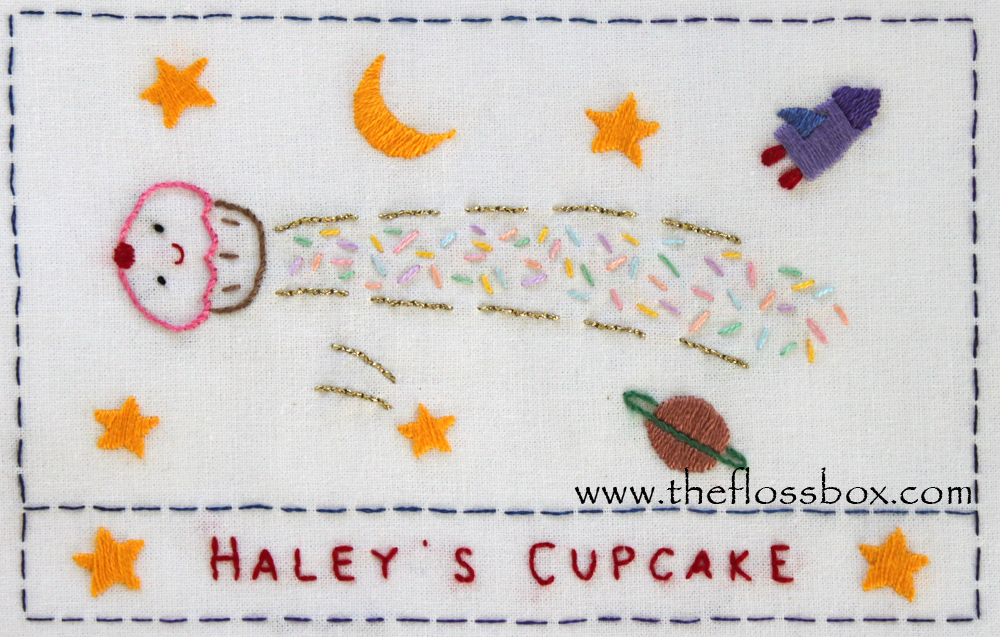
I made this fun project some years ago. The cupcake dust is made of seed stitches of different colors. I wanted them to be reminiscent of candy sprinkles.
These are just a few possibilities for this stitch. What can you create? What other variations can you think of?
My stitch school fabric
I thought I would say a few words about the fabric I am using. I sometimes get questions about how I make these samplers. In other stitch samplers I have used separate fabrics for each stitch. This time I am doing it all on one fabric.
I have stitched the name of the stitch freehand. It isn’t so important to me if the letters are a bit wonky, but if that matters to you then write them with your water soluble marker first.
My fabric ended up a little on the small side for what I want to do, so I am going to write on boxes for each stitch, just to make sure I have enough room for each one. The fabric size is about 14 x 14 inches, so feel free to cut yours larger if you want to do your stitches on one fabric.
As for color. On this sampler, I will use a different color group for each stitch. This lesson is purple, as you see. I like doing it this way because it makes the sampler bring and colorful. Feel free to use any you like.
I hope you have enjoyed this lesson! Stay tuned for another lesson next week.